Required Materials:
* Acrylic paints * A range of old paint brushes
* Sponges * Grease paints
* Paper towels * Plastic pots
* Bowl * Water
* Protective gown * Cotton buds
* White colourless powder/ talc
1. Following up from 'Casting The Appliance' these next steps will show you how to apply the prosthetic piece.
Start by pouring a small amount of Pros-aid into a plastic container. Using a cotton bud dip the end into the Pros-aid and apply into the tip of the nose of the prosthetic. Also apply it onto the nose of your model and gently apply the prosthetic onto the nose. You might need to ask your model to hold it while you do the rest of the face.
2. Using the same technique with the cotton bud, apply pros-aide in sections over one side of the face and gently press down to the prosthetic piece.
3. When it comes to sticking down the edges near the eyes and mouth, gently lift the edge using some tweezers and rolling the cotton bud underneath the edge you have just lifted up. Then gently press down onto the skin.
4. Once you have done this you can start to do the other side.
5. Before painting your prosthetic you need to mix a base colour you want to paint the piece with pros-aid. This then becomes 'Paxpaint'. This means when you apply it to your prosthetic the colour won't crack, especially when make-up is used on top. The colour also needs to be darker to cancel out the white prosthetic and you can then cancel the colour down.
.JPG)
This is the Paxpaint base, it is obviously darker then what I wanted to achieve but this cancels out the white making it easier to achieve the colour you want with make-up. You will need to mix up a lot of the Paxpaint to be able to cover the sides, neck, chest and hands. Using the white colourless face powder or talc, brush over the face and neck using a powder brush to stop the prosthetic from sticking.

.JPG)
Here I have also practised lightening the colours and started to shade and highlight the cheeks.
.JPG)
.JPG)
I have then tried to lightening and make the face more green. Reflecting on this I am not keen on the colour and will attempt to lightening down on my final piece.
.JPG)
The bottom image show the prosthetic mask removed from my brothers face. I started to carefully peel the edges away and then used Bond Off to make the process easier.
.JPG)
The video below shows Gil Romero applying a foam latex prosthetic piece. This will easily show the process on how to apply the prosthetic piece. These are the exactly that I used to apply my prosthetic piece.
Pre Painting The Final Prosthetic Piece.
1. This is how the horns and skull should finally look like once they are securely fastened down.

2. Lay the prosthetic piece over the back of the cap. Don't glue it on!
Now start to paint the base of the mask with the Paxpaint. I have decided to go for a more darker, earthly coloured base as I felt the dark green didn't look right for the look I was going for.

Remember to talc or use the white colourless setting powder to the edges to stop the edges from sticking together.


I have darkened under the cheeks and around the eyes. I wanted to give a sunken look to the face.

Close up look of the defined eyes and brow.

Close up of the defined cheeks.


5. The image underneath shows my set up outside. This time I am highlighting the cheeks, eyebrow, chin and top of the head detail in blue to give more of a definition.

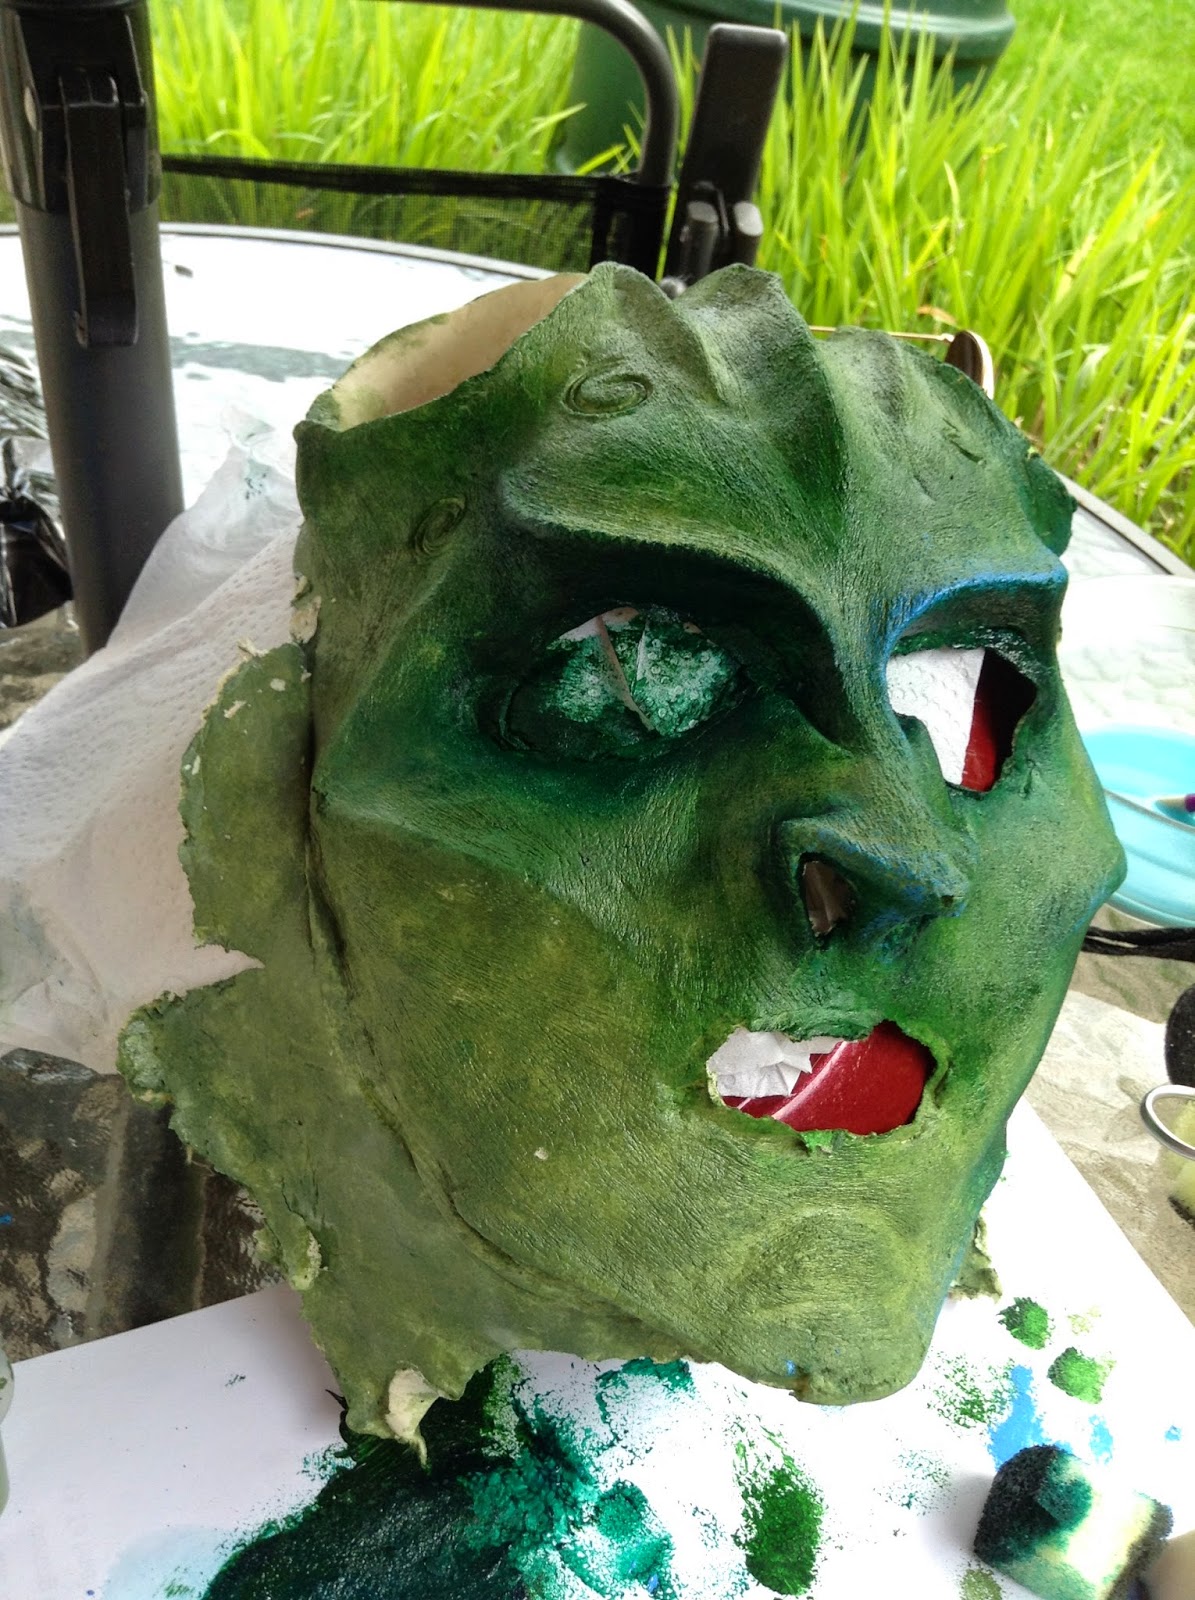
These two images show the difference the blue can make to the prosthetic piece.


Side view of the prosthetic.

Close up of the highlighting.


Here is the completed base colour for my prosthetic piece. For this look I have layered it onto my models face to show the the finished look with he highlighting and shading.

I have done this prior to the assessment as I knew this would take longer than the time we have in the assessment. Overall this took me about 4 hours to complete, and the assessment is 2 hours long. This made more sense to complete it now and have more time to apply the prosthetic and make-up in the assessment.
Painting the Horns
1. Start by mixing Pros-aid and brown acrylic together to make Paxpaint. Using a sponge stipple the brown all over both horns.
2. Now mix brown and white together to make a lighter brown and apply this to the ridges of the horns.
3. Where the lighting hits it, apply black to those areas by stippling and smudging the black.
Once you have done this the horns should look like this:

Head over to the last process, 'Facial Prosthetic Application' (the assessment). Here you will see my final images of the entire look!
No comments:
Post a Comment